|
Web Page Design Module 1: Creating Web Pages with HTML Tags |
||
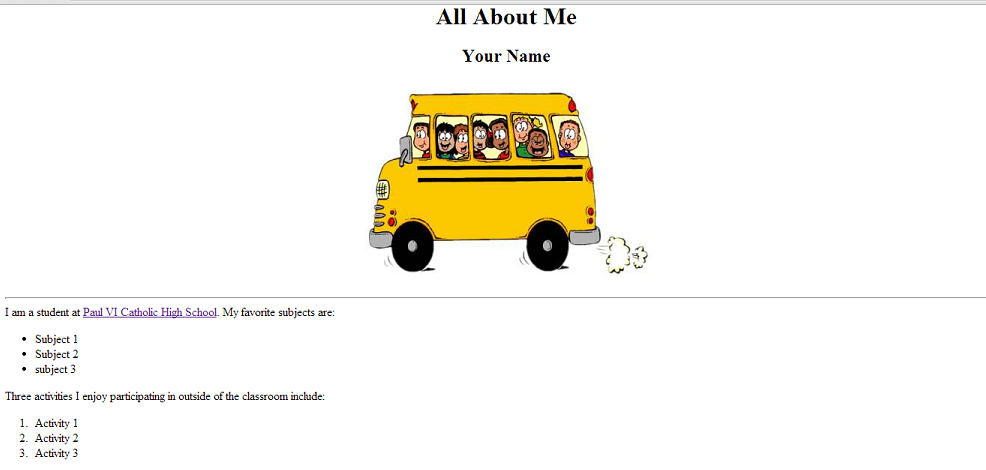
Inserting an Image The image tag looks like this: <img src="name of image file" align="center">. The src attribute is the entire name of your image file including the file extension. You can add additional attributes such as height and width which control the size of the image. Height and width can be specified in either pixels or percent. Let's practice this by adding a picture of a school bus to your first webpage. Search the web using a Google image search for a clipart picture of a school bus. Save the picture of the bus in your HTML file folder on your Google Drive. Do not change the file extension, but you can replace the name of the file with the word bus. Note the file extension. After saving your picture open your first webpage file in Notepad; add the image below the </h2> tag. The tag should look similar to this: <img src="bus.jpg"> When you are finished entering your tags replace your original html file by selecting File and then selecting Save. Close your Notepad file and navigate to your HTML file folder on your Google Drive. Select first webpage to preview what your file will look like in a web browser. Your file should look like this.
If your changes don't appear in the browser window, select the Refresh button. If your picture isn't displayed or isn't in the center of your web page, return to Notepad, select the file and make the necessary corrections. If you need assistance completing this activity preview the Screen Captured Video. This video can also be found on the Student Resources page. Send your mentor an email with the Subject Line "Request for Help" if you need help finding the errors. Then proceed with the next page, Building Tables. |
||
|